
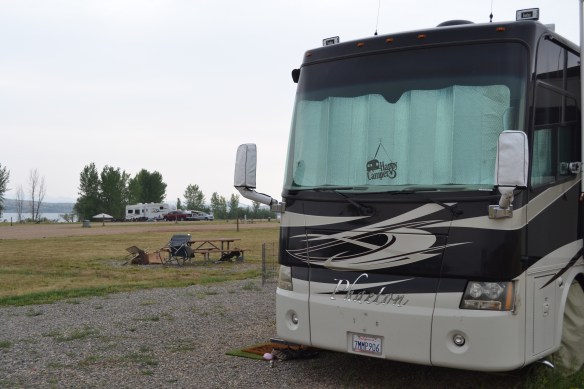
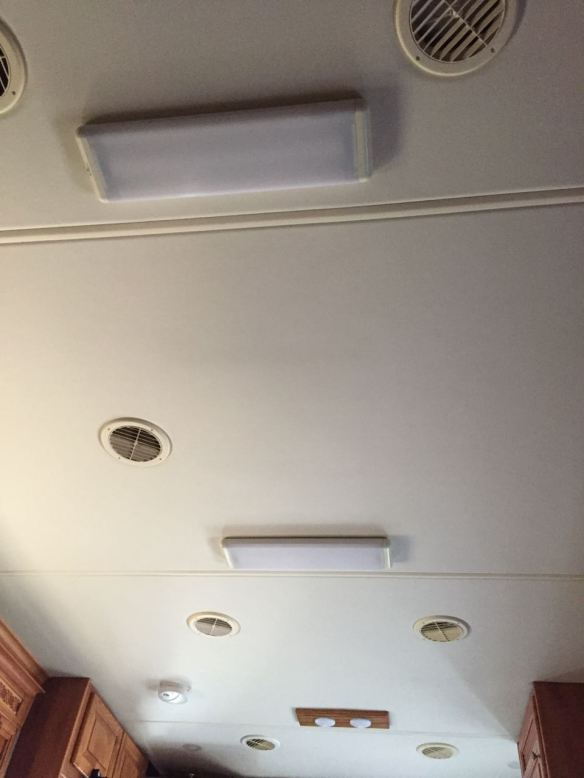
My co-camp-host neighbors at Tongue River State Park have a 2009 Tiffin Phaeton Class A motor-home which had eight florescent fixtures lined up on the centerline of their coach. The old fixtures were failing due to age and the light they gave off was murky and well, florescent. The old bulbs allegedly produced 800 lumens each for a fixture total of 1600 lumens (x 7 = 11,200 for all of them).
Jim and David, owners of the coach, had seen other Phaeton owners replace their dated fixtures with LEDs mounted on oak trim which matches the cabinets in the coach. These light assemblies may be available on the internet – I didn’t really look because I could make them better!
We started by finding some Falcon LED lights with push-button switches sourced by Genesis Lighting on Amazon. We choose the 3 1/2” 210 lumens 12v light (links at the bottom). Don’t worry that 210 x 3 is not equal to 1600 lumens cause those old buzz-lamps were not getting anywhere near 1600 lumens.

The old lamps were 19” x 4.5” and they left a mark in the fabric covering the ceiling so we made some oak trims which measured 20: x 5.5” (Oak 1×6) to cover the footprint of the lights we took down. We cut the oak (14 feet of it procured at a local big-box store) into seven 20” boards and one 15” board (The shorty went in the entry way). After routering a 3/8” radius round-over on the face of each board, to match the round-over on the cabinets, we stained them to match the color (In our case golden oak) and poly-ed them with three coats of semi-gloss (plus one coat on the back to seal it).

We drilled each board in three places to run the wires from the back of the light through to the back of the trim board where we connected them with line-splices. We then drilled four holes through the board which lined up with the light-mounting holes so we could send a screw through the light mounting hole all the way into the ceiling of the coach. Once the light covers were installed they covered the screws holding the trims to the coach. I love hidden fasteners! We also put four dabs of clear silicone on the back of each trim before we screwed it up which will adhere to the ceiling fabric and help keep the lights from coming loose.

The end result was a set of lights that put out about three times as much light as the old tube-lights. Because there are switches on each LED they can be turned off individually to reduce the overall lighting scheme. The lamps we choose are also dimmable so with a switch replacement they could all be dimmed in unison. Now, I can do the math and figure out that 4,830 lumens is not 11,200, but the apparent light available in the coach is far greater than the old fixtures. Maybe it’s the higher K temperature of the LED’s or the murky covers over the old lights – don’t know for sure – but it is far better now than before.

We puttered at this for about 5 days, but if you got after it you could likely get it done in two. If you want to take the short-cut start with some 20” x 5.5” drawer fronts and all you need to do is drill and mount the lights to the drawer fronts then attach the assembly to the coach. FYI LED lights are polarity sensitive – if you hook them up backwards they don’t work.

LED light sources:
https://www.amazon.com/s?marketplaceID=ATVPDKIKX0DER&me=A16G53YHOQFM2H&merchant=A16G53YHOQFM2H
.
