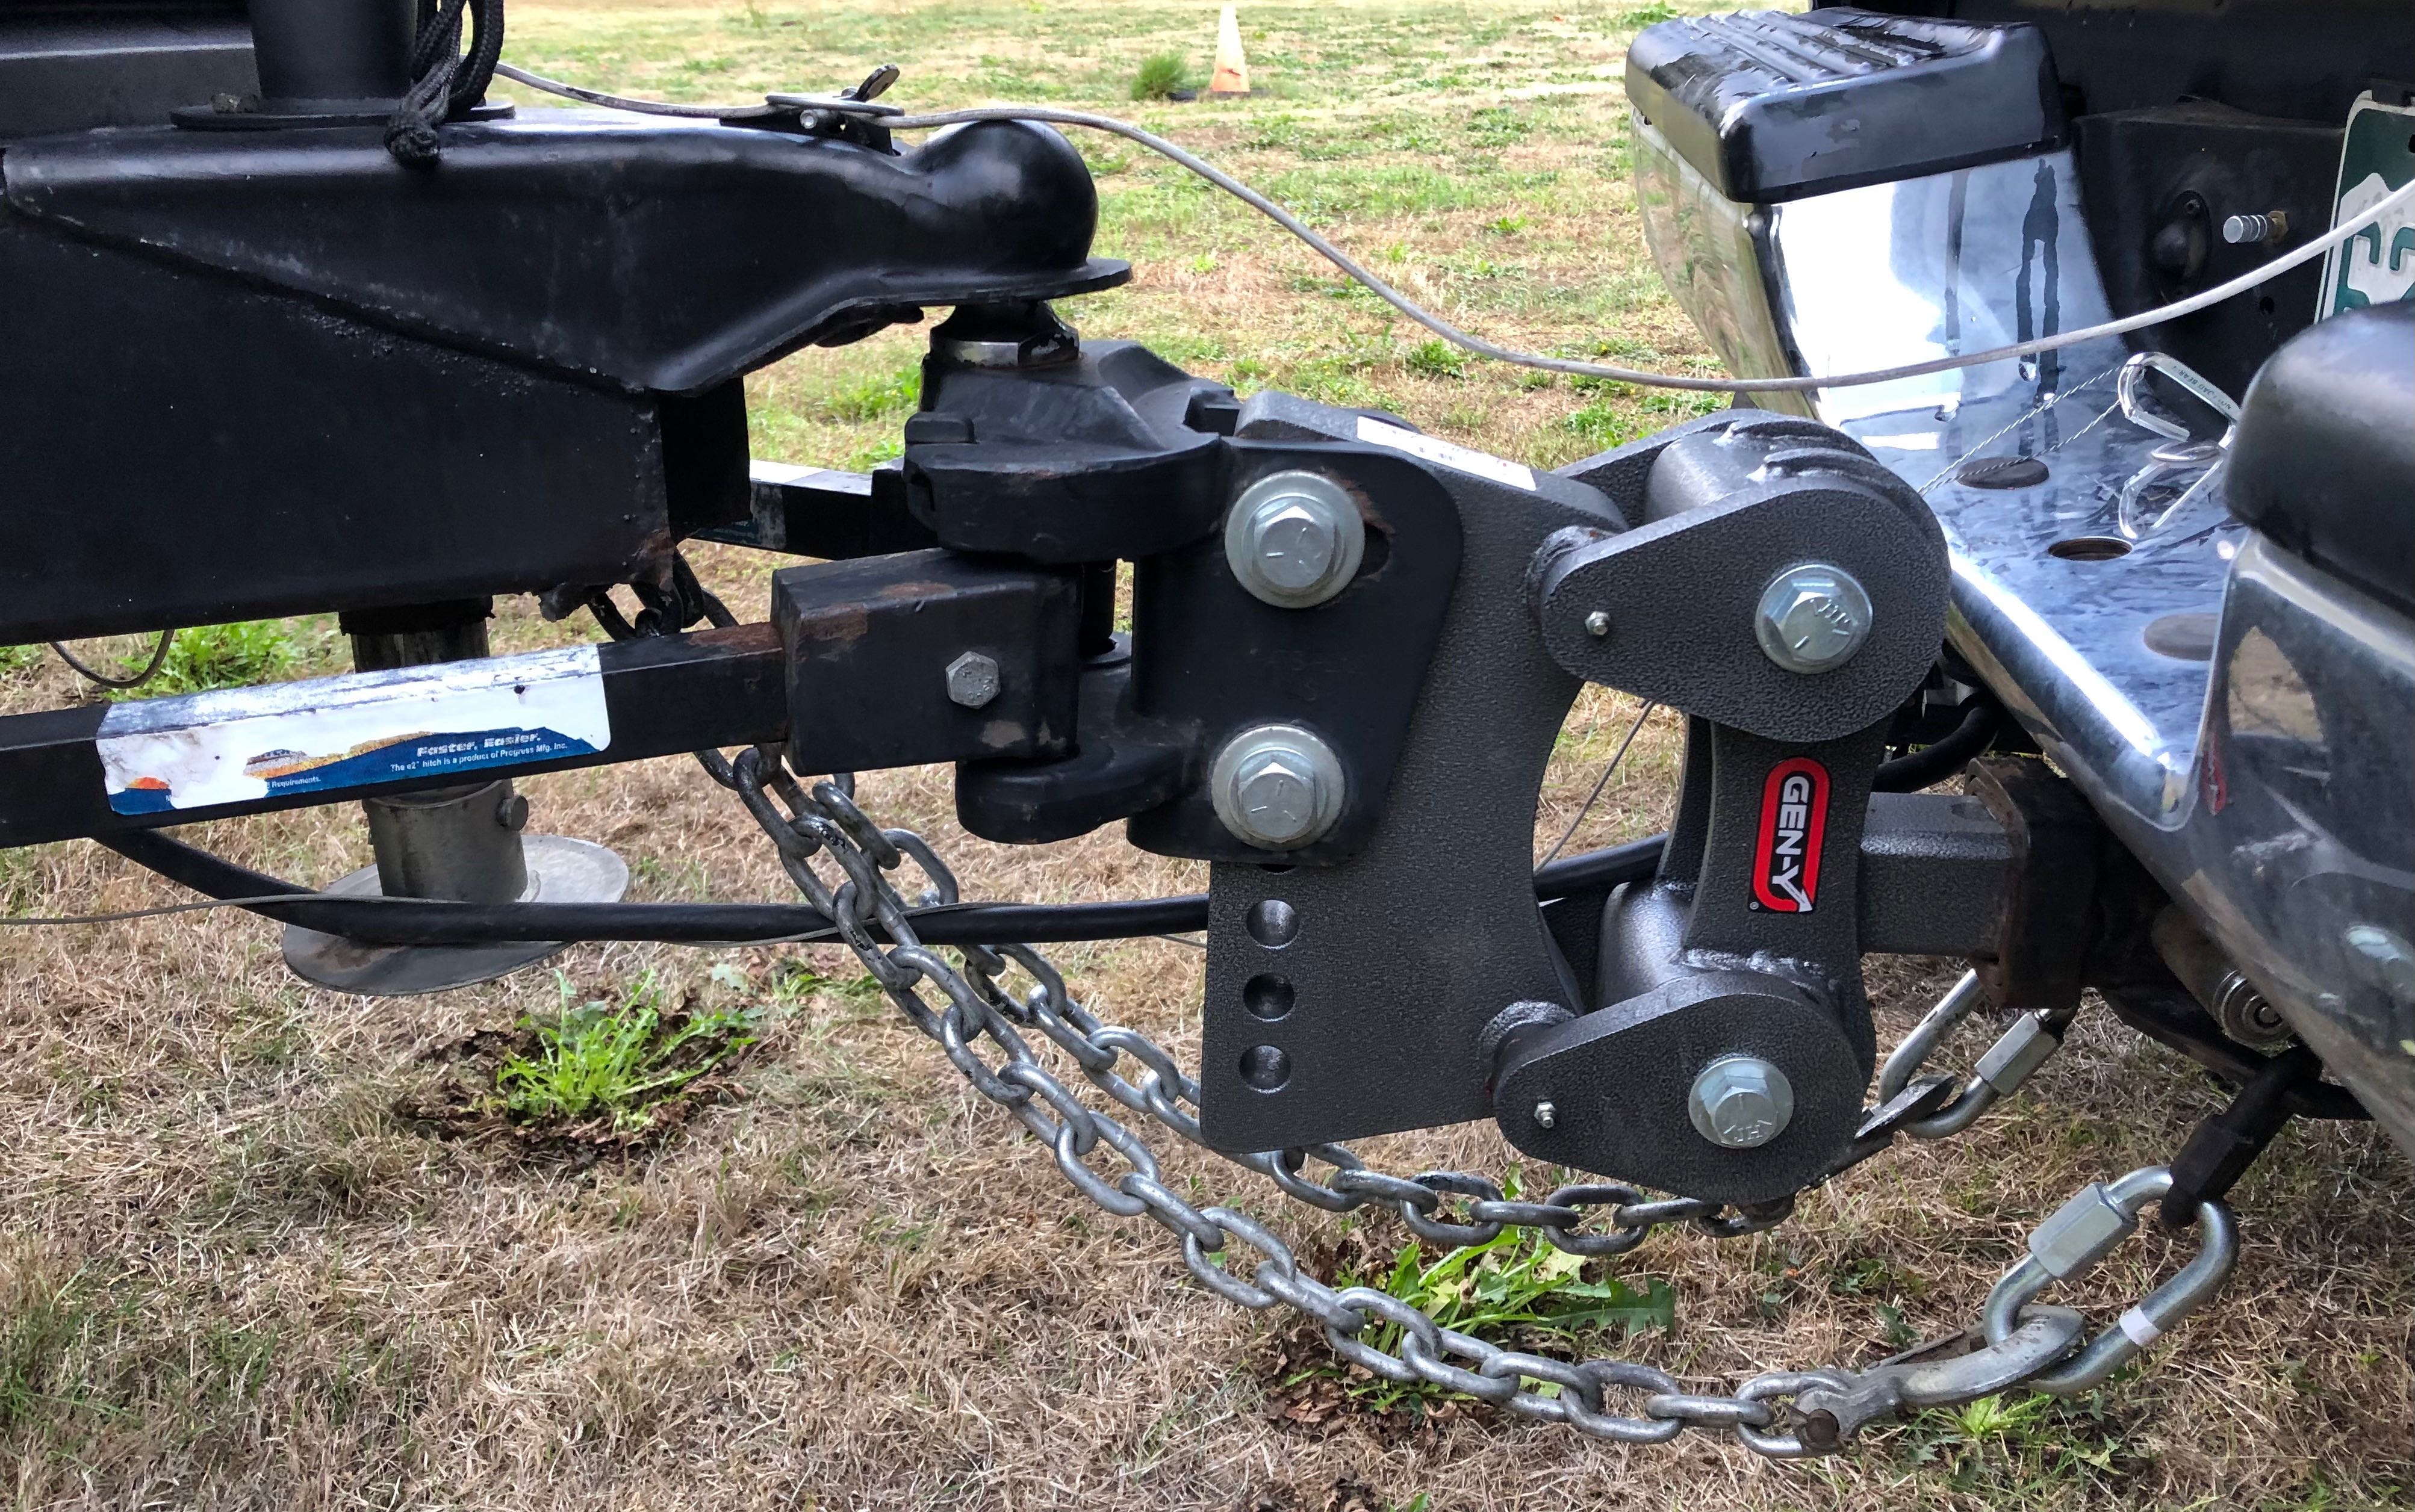
The new torsion bar hitch on Truck 2.1The new Gen-Y hitch all hooked up
I saw one of these shock-absorbing hitches on a truck in the RV park a week ago and now we have one too! It uses torsion bar suspension and I have always loved trailers with torsion bar suspension. I’m hoping it will smooth out some of the beating we get from the dreadful roads in America. The sales brochure says it absorbs up to 90% of the energy transferred between trailer and truck when we hit bumps
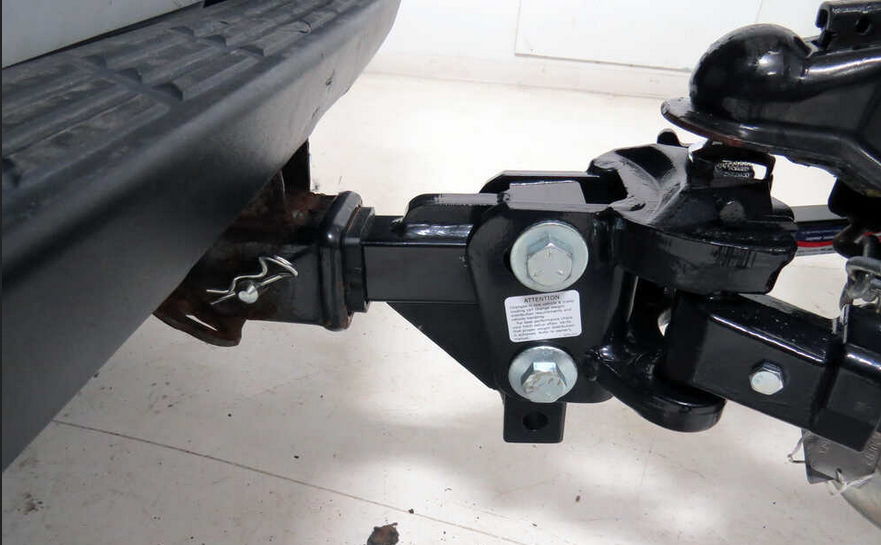
The old set up looked like this
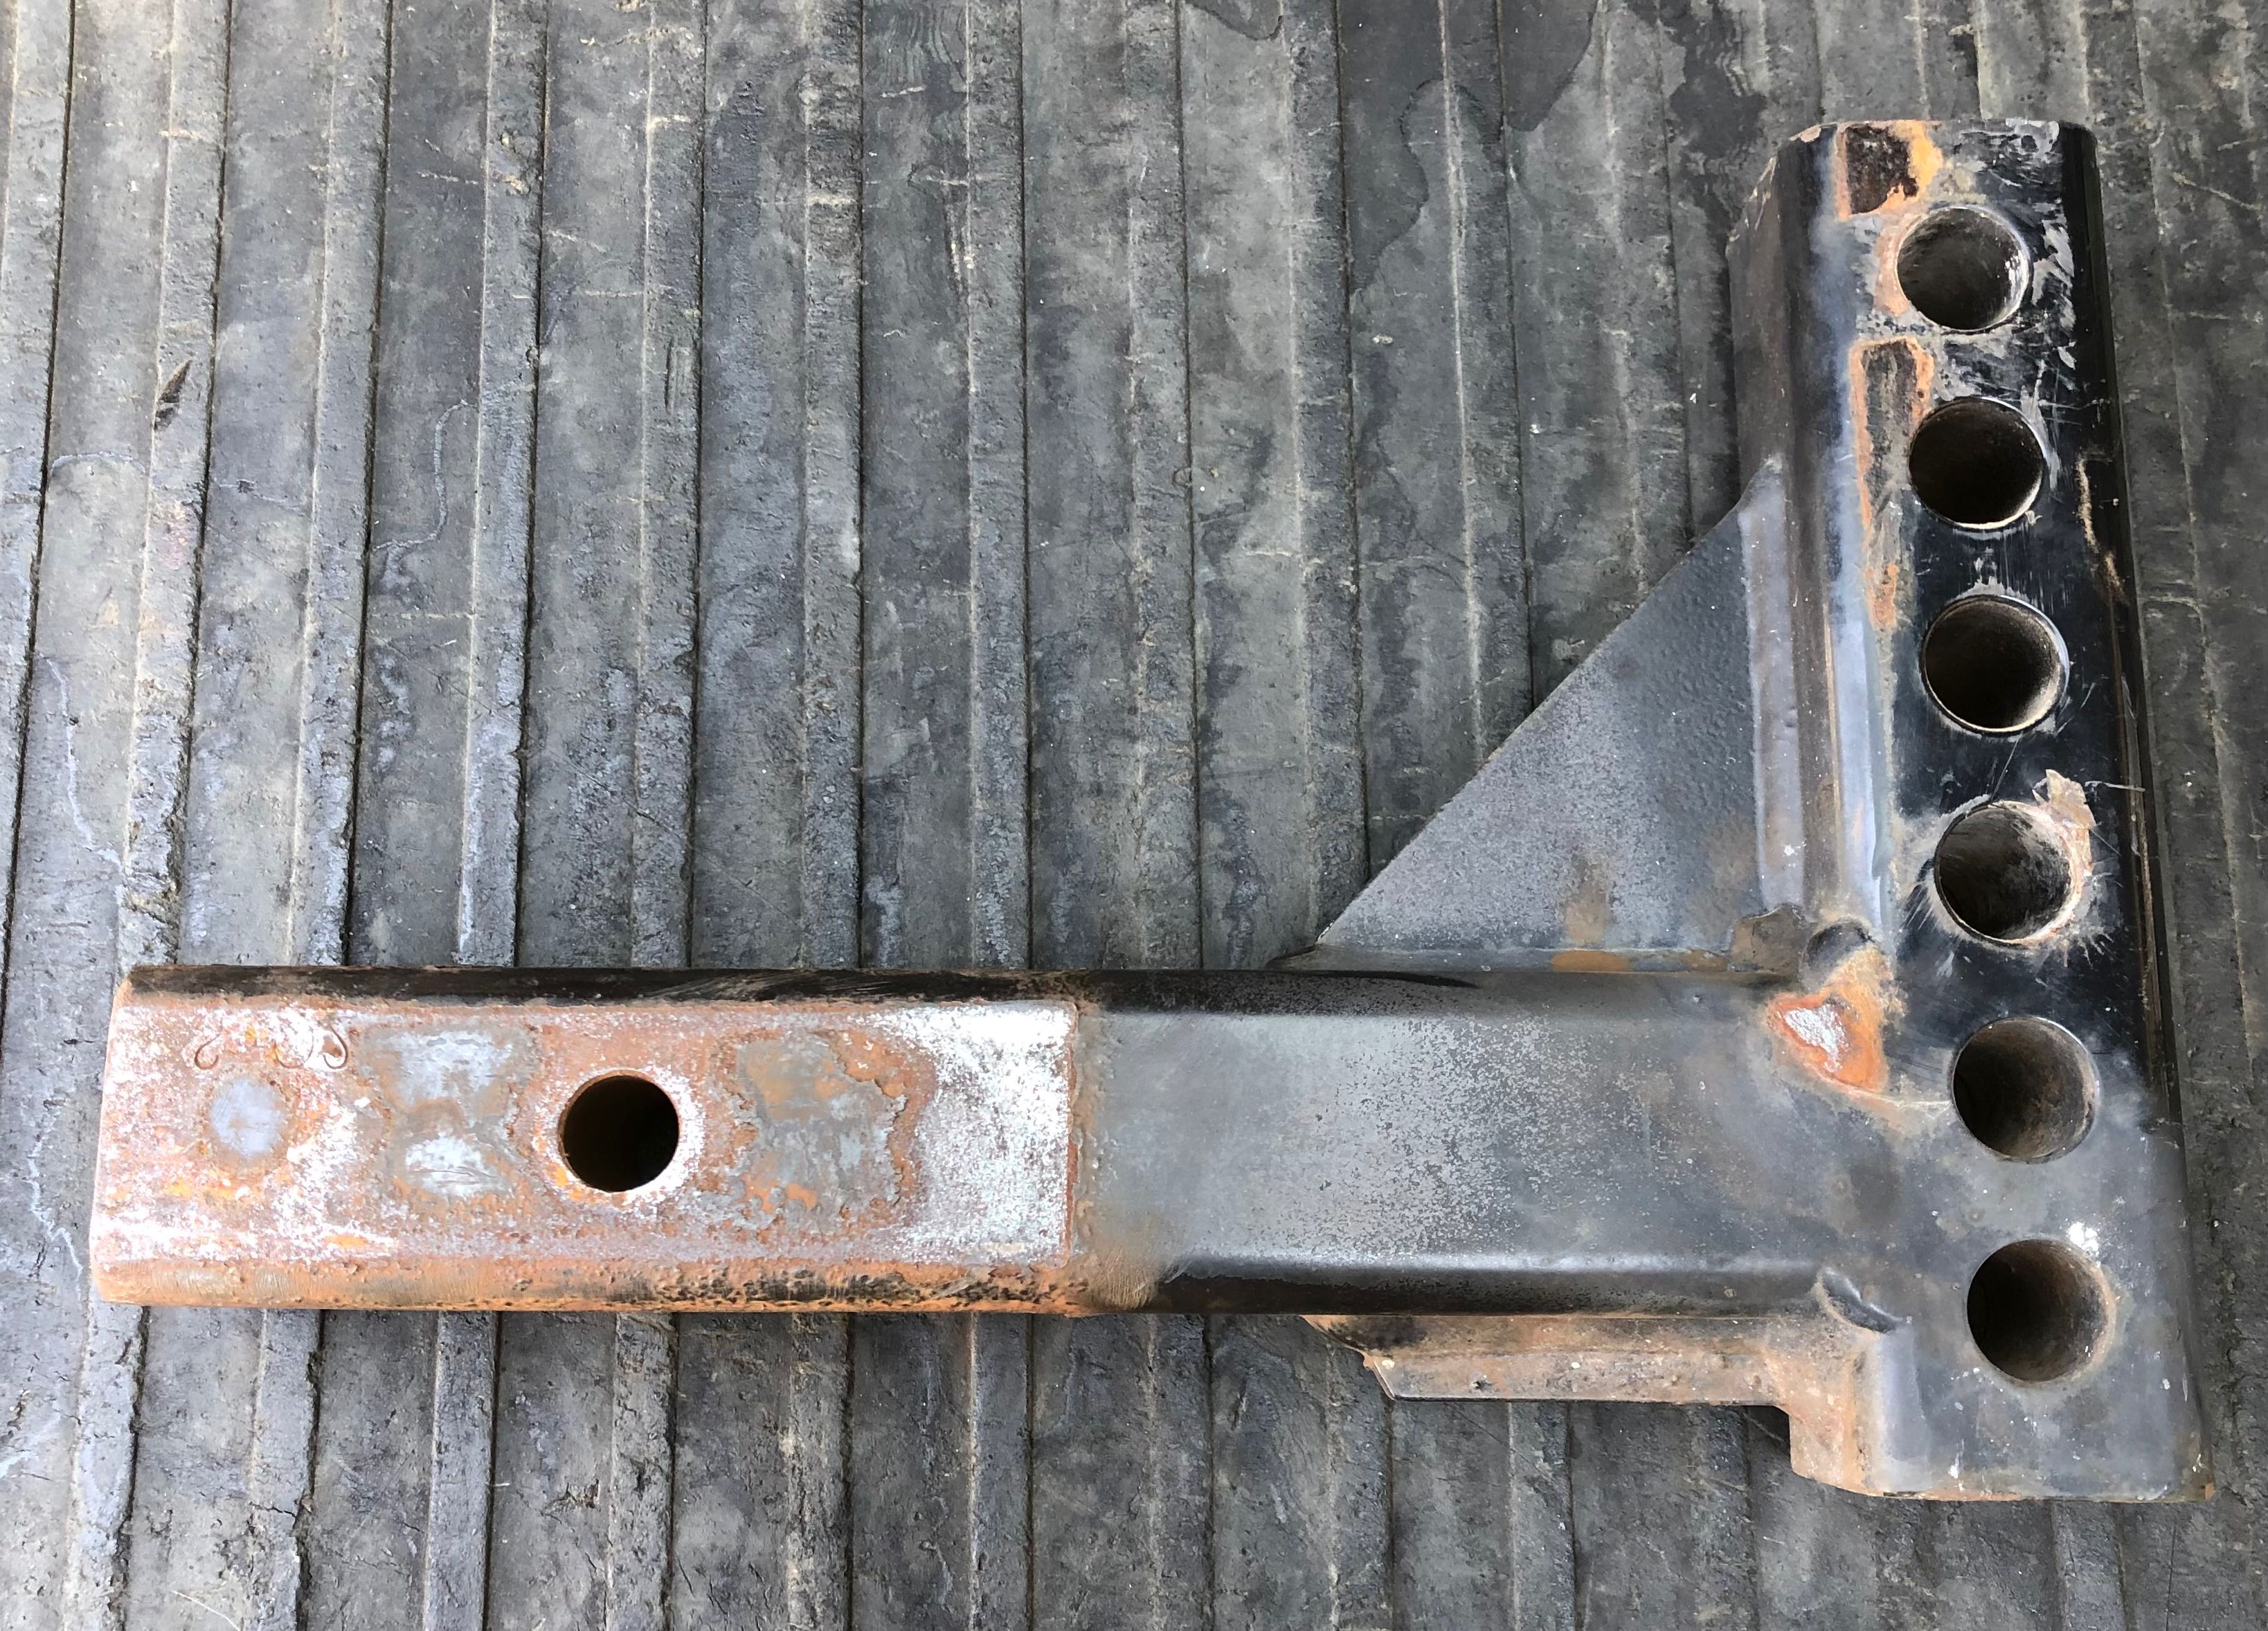
One down-side is the new hitch is 65 pounds! The draw bar it replaces weighed in around 10 pounds so we added about 55 pounds to the back of the truck. And the new hitch is about 4” longer than the old set up so I extended the safety chains a little bit to compensate. The electrical cord just reaches
This draw bar got replaced (see below)
I’m too old to be working on stuff this heavy but I did it anyway. Needed a nap afterwards. Zzzzzz
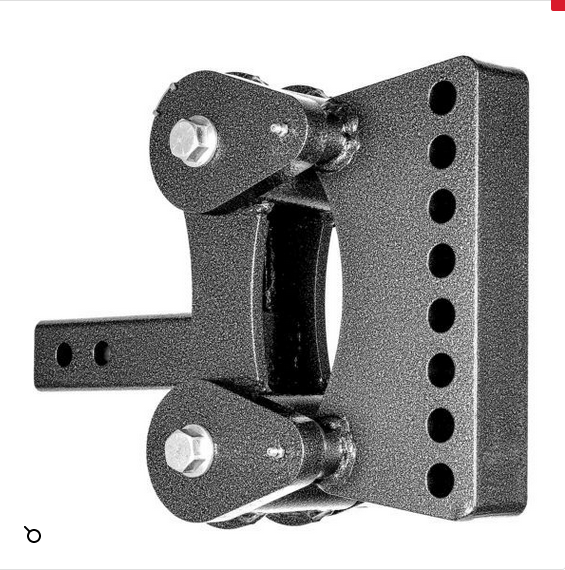
with a torsion draw bar like this
Update: This new hitch makes a noticeable improvement in the ride! YaY! It has the most effect on big hits that cause the truck to porpoise and the post- hit wave action is cut a bunch
Like it says on the card. FYI the area code is 406
As you may have read below we lost 5th gear in Truck 2.0 and ended up driving 500 miles in 4th gear. Slow going for a few days. When it happened I called a bunch of shops in Billings and one of them, which was 2-weeks out on repairs, recommended Mikey’s Gas & Diesel Shop. I called Mike and he got the ball rolling on repairs by ordering the parts he needed.
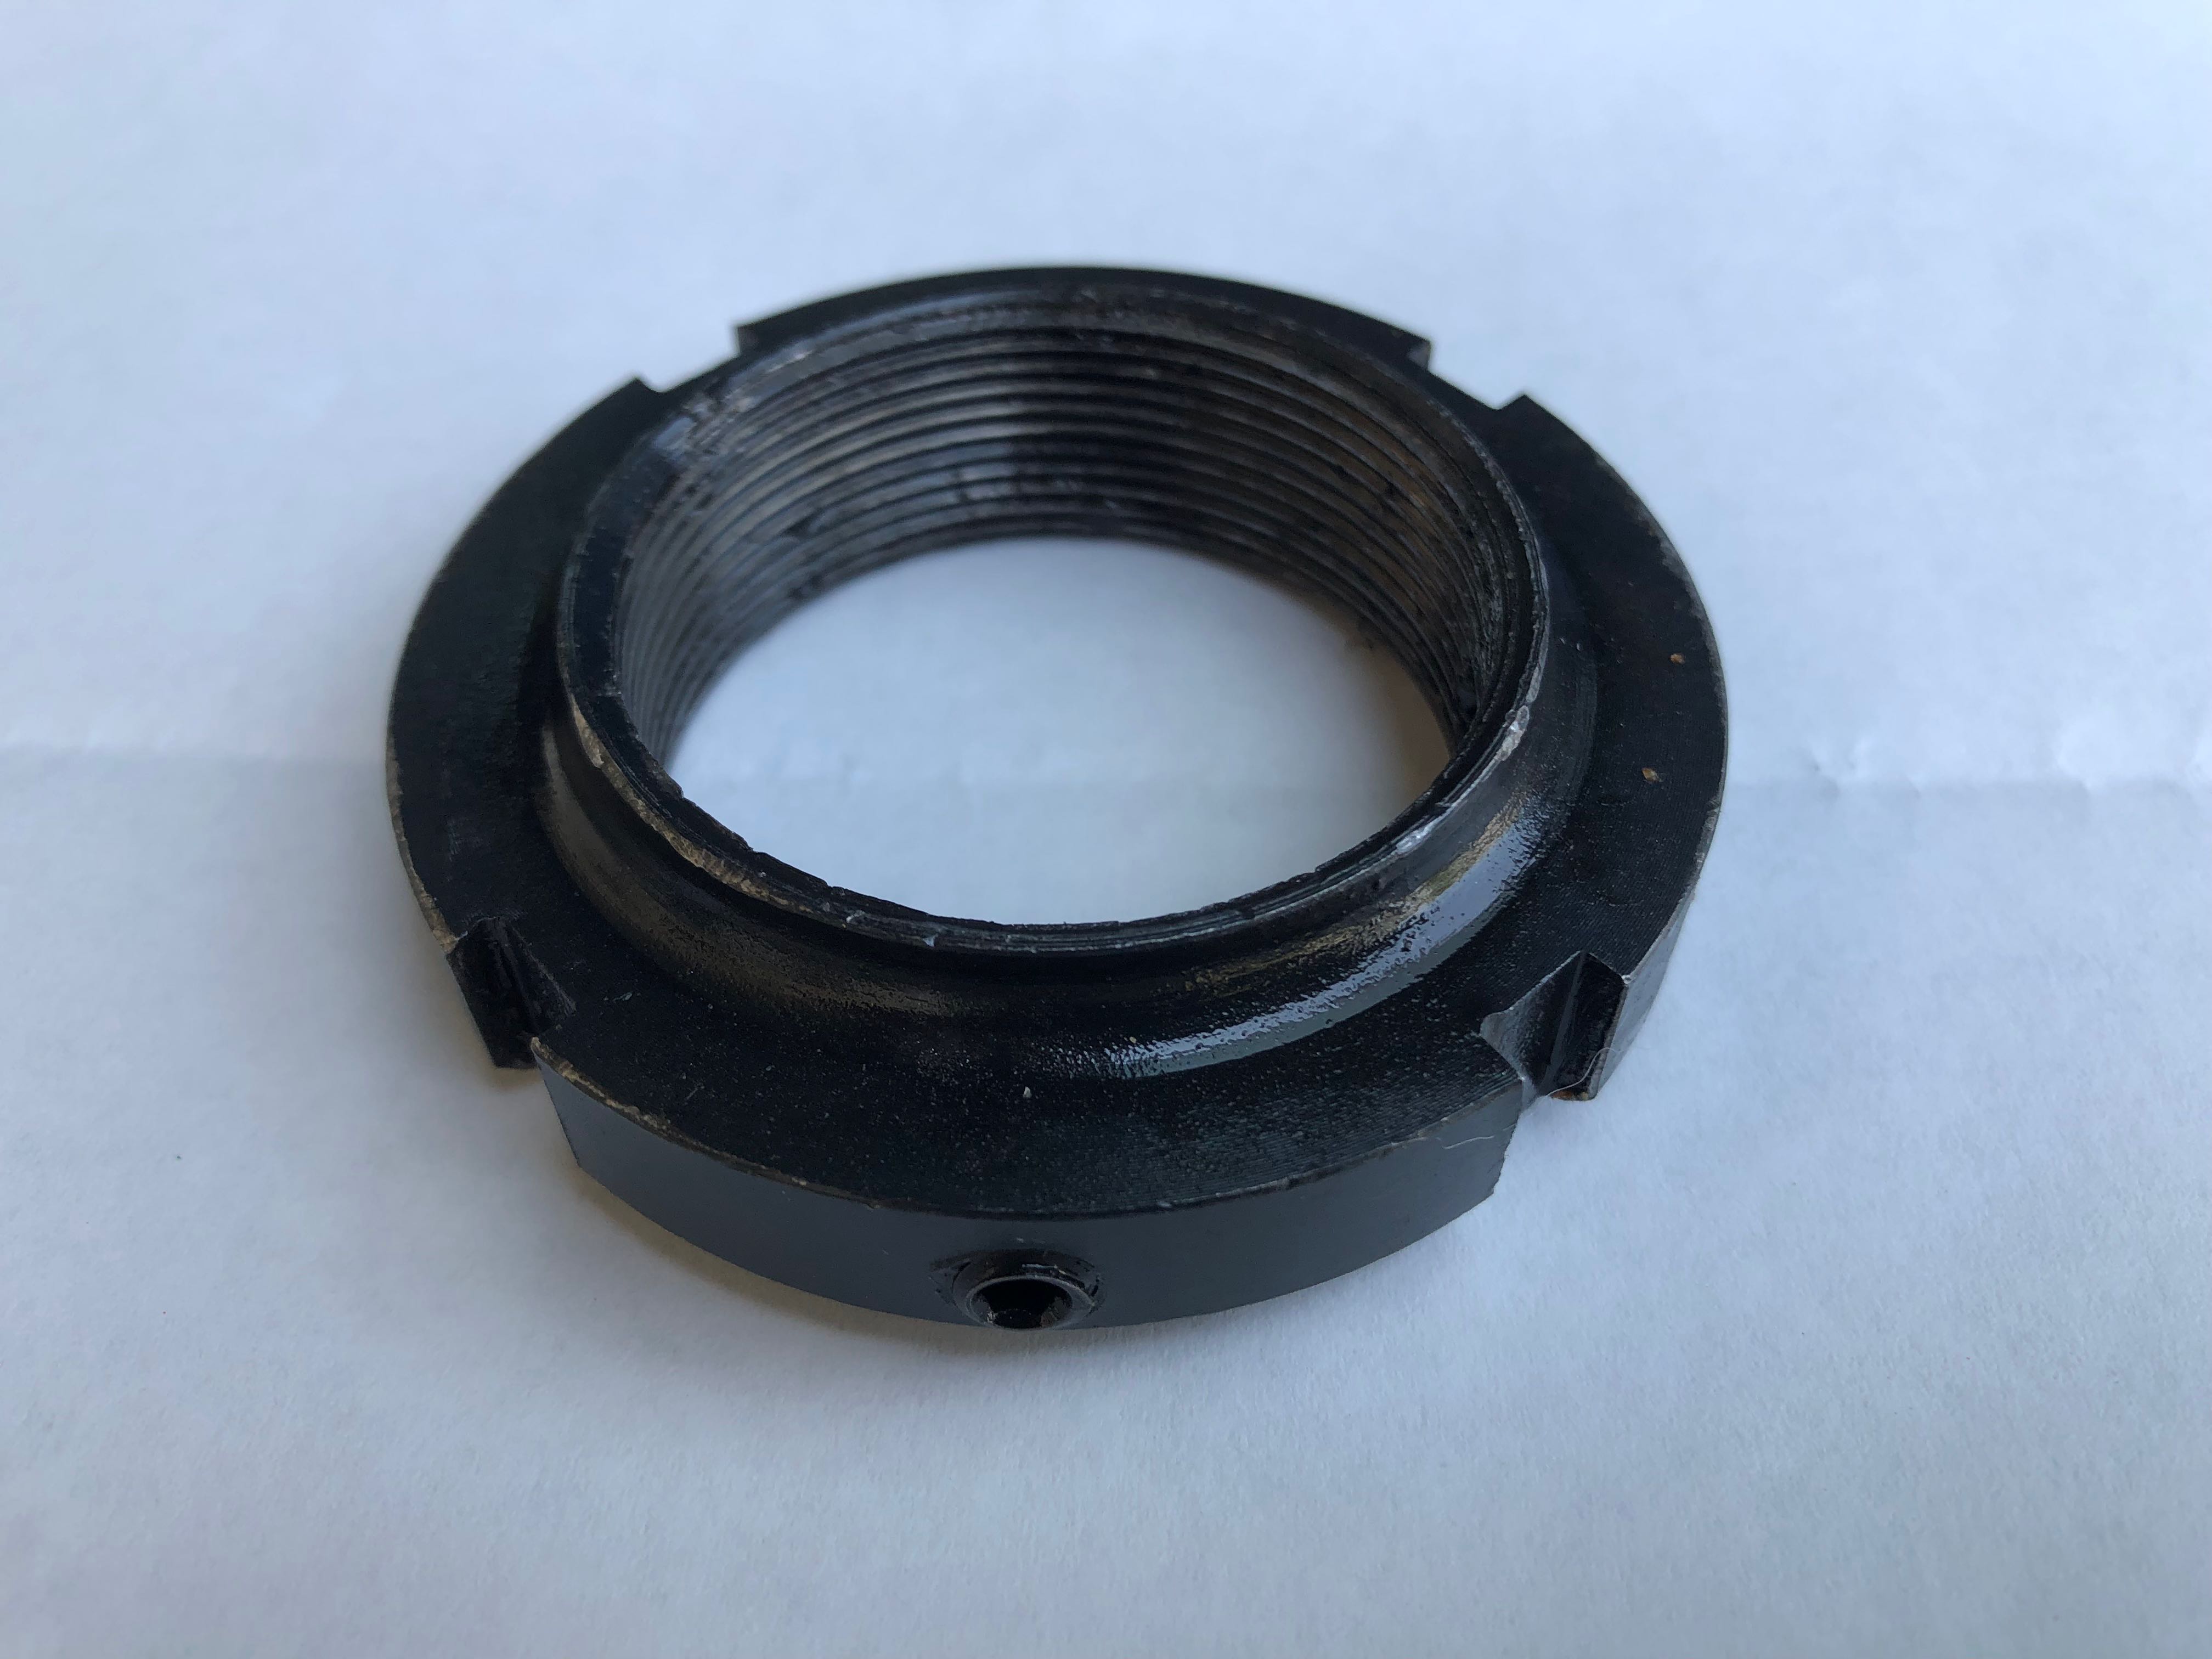
The pesky 5th gear retaining nut. This one is an improvement over the original, but still slipped
I dropped the truck off Thursday morning hoping it was not going to turn into a big week-long project and got lucky. Super lucky. Mike and his crew had it fixed in several hours. And the price was super too!
The back of the tranny where the 5th gear resides. All clean now!
If you have car trouble in Kalispell I can recommend Mikey’s Gas and Diesel Shop
The front of Mikey’s shop
Below is a link to a map, etc. They don’t have a web site:
We had transmission issues on the Montana section of the trip. About 30 miles east of Billings we lost 5th gear. After that we were limited to 55 mph in 4th gear. We were the slow-poke in the right lane. Grrrr
5th gear is a know issue with the transmission in Truck 2.0 and I was hoping I would get away with not having it break. Nope
Limping into Kalispell seemed to be the best option. The wait time to get repairs in Billings was 2-weeks and there was no space in the local campgrounds. Grrrr
The boiz and I made it over the big hill between storms. We got to Fruita a couple weeks before the big storm shut Denver down. It’s been cold here so not many peeps coming to ride the rides. Park is nice and quiet, mmmm …
Got the mini and diggin’ some sewer line
We started right in on the big projects. Sewer line, new intake for the irrigation pumps, new fence. It’s like a big remodel here. Champagne taste – beer budget!
The spare tire has been too close to the new 4″ exhaust for awhile now. So I built a heat shield
I’ve had some time to make improvements to my stuff too. Built a heat shield for the spare tire/ exhaust pipe and got a new block heater. Between that and a trip to the Vet I spent my $1400 stimulus payment. I hope you feel stimulated now!
I’ve been living with an intermittent coolant leak for a couple years now. Just waiting for the right time to BLOW all the coolant out on a big hill, YIKES!
Big ole crack in the aluminum part which holds the plastic tank onto the radiator core
So, now that I have some free time and some helpers I decided to tackle those pesky leaks and skip over the part where I’m stranded on the side of the road waiting all day for a tow truck. My friends and I managed to replace the radiator, water pump, fan clutch, and fan belt in about half-a-day. I decided to replace all the mission-critical stuff behind the radiator because it’s just so easy when the radiator is out and so hard when it’s not
And the propane hoses stared leaking just a week before the regulator died.
Out with the leaky, in with the new (again)
The propane regulator is the second one of that brand to die and all the hoses (4 of them) ended their lives with a leak. Thanks China
I bought what I hope is a better regulator and hoses from PPL motorhomes. Time will tell. I set it up the same way as I did them before without the double bend in the hose.
Last week I came back from an event on a 14* night and walked into a cold house. Brrrr! The furnace had failed to light while I was away and the heat inside slowly flowed to the great outdoors. It failed a dozen more times to light while I was standing over it shouting encouraging slogans! After a couple hours I gave up on the idea of it working and I went and bought a second electric heater to keep us warm through the night. I kept the fresh tank from freezing by circulating the water through the water heater and back to the fresh
The next morning I woke and dove into the great YouTube looking for answers. Sure enough, people have made videos about this.
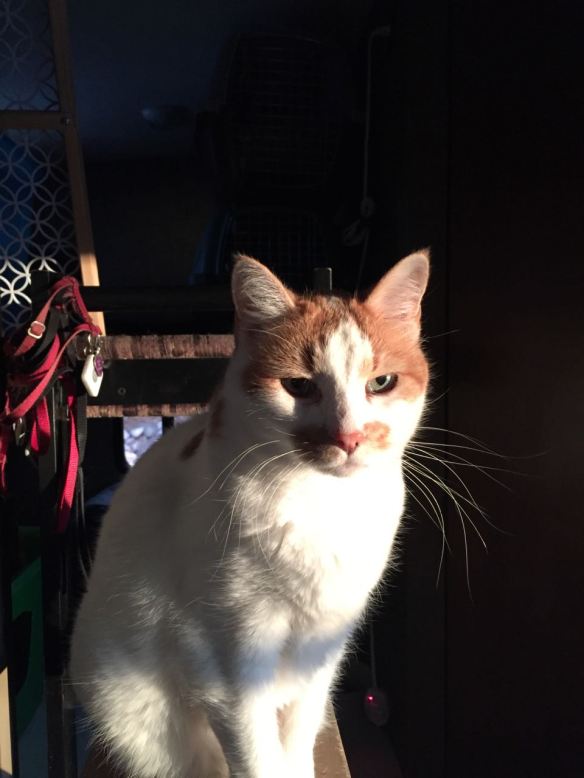
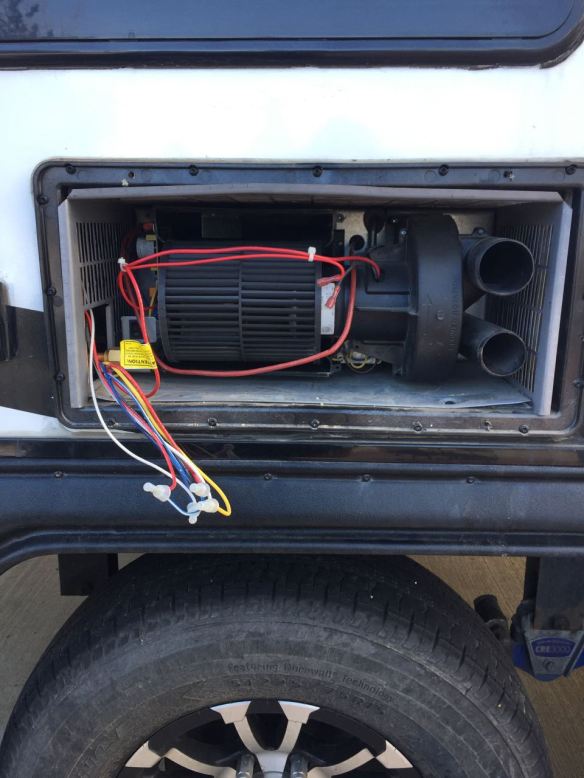
This pesky bit does not like cat fur
Seems the issue was cat fur on the sail switch that kept it from closing and telling the gas valve to make some hotness.
Here I am learning about furnaces
I cleaned the fur off the sail switch and all the other bits and parts inside the furnace box then put it back together. Now it makes toasty, toasty hotness!
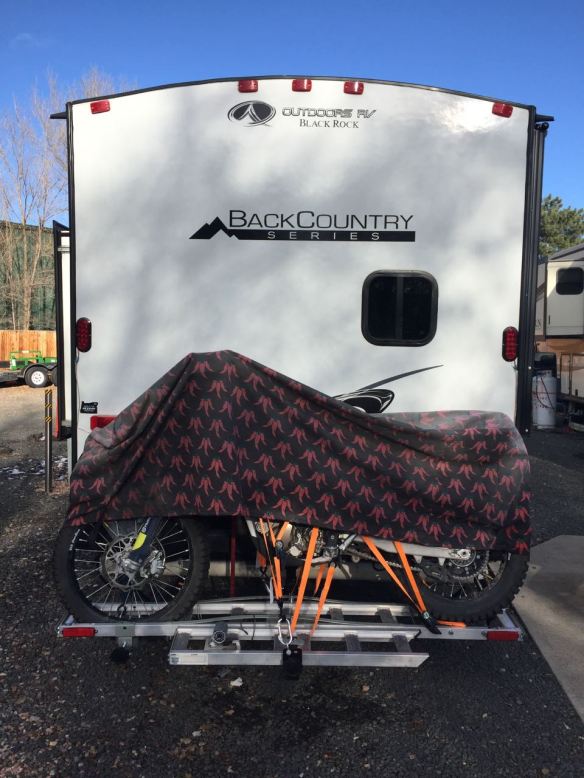
The Husqie Adventure-450 wrapped up and ready to go
The stock brake/ turn/ tail lamps were not that great to begin with and I’ve been planning some sort of brightness upgrade for awhile. I’m mostly concerned about it when I’m going slowly and have the 4-way flashers on. Putting the Adventure-450 on the back of the trailer changed the game by blocking the lamps completely. Call to action!
New LED stop/ turn lights are visible above the Adventure-450
I ordered some 10-LED lamps from etrailer (because no one near me stocks things like that) and installed them above the Adventure-450. The LED’s are much brighter than the stock cheapo-lights and they can be seen above the bike. I bought surface-mount lamps and installed them with some 3M double sticky tape. I ran the wires on the surface and into the bottom of the existing lamps. It’s kind of lazy-looking, but I didn’t want to cut into the walls and ruin the insulation or the water-tightness
Even with 14″ of snow the lights are still visible
I was visiting Rifle Gap State Park so I drove up the canyon to Rifle Falls too. I haven’t been there for probably 30 years. The last time I was here was with my grandma back when she was living in Parachute. She grew up in the valley and her hubby use to take her to Rifle Falls for picnics in the early 1930’s. I spotted a few wild turkeys on my walk
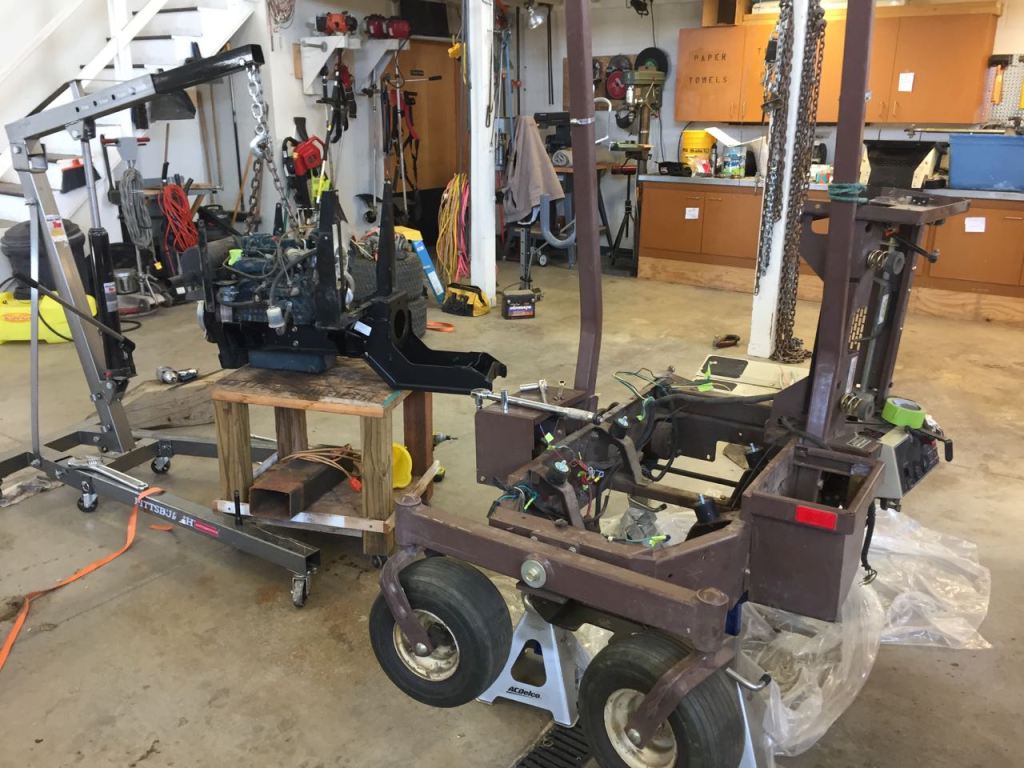
Lots of parts
I fixed it!
One of our mowers got a broken frame. It’s an expensive mower so the park decided to fix it. I took it almost all the way apart to get the broken bit out then reassembled it. I runs! I’m always amazed when something that taken apart goes together and runs
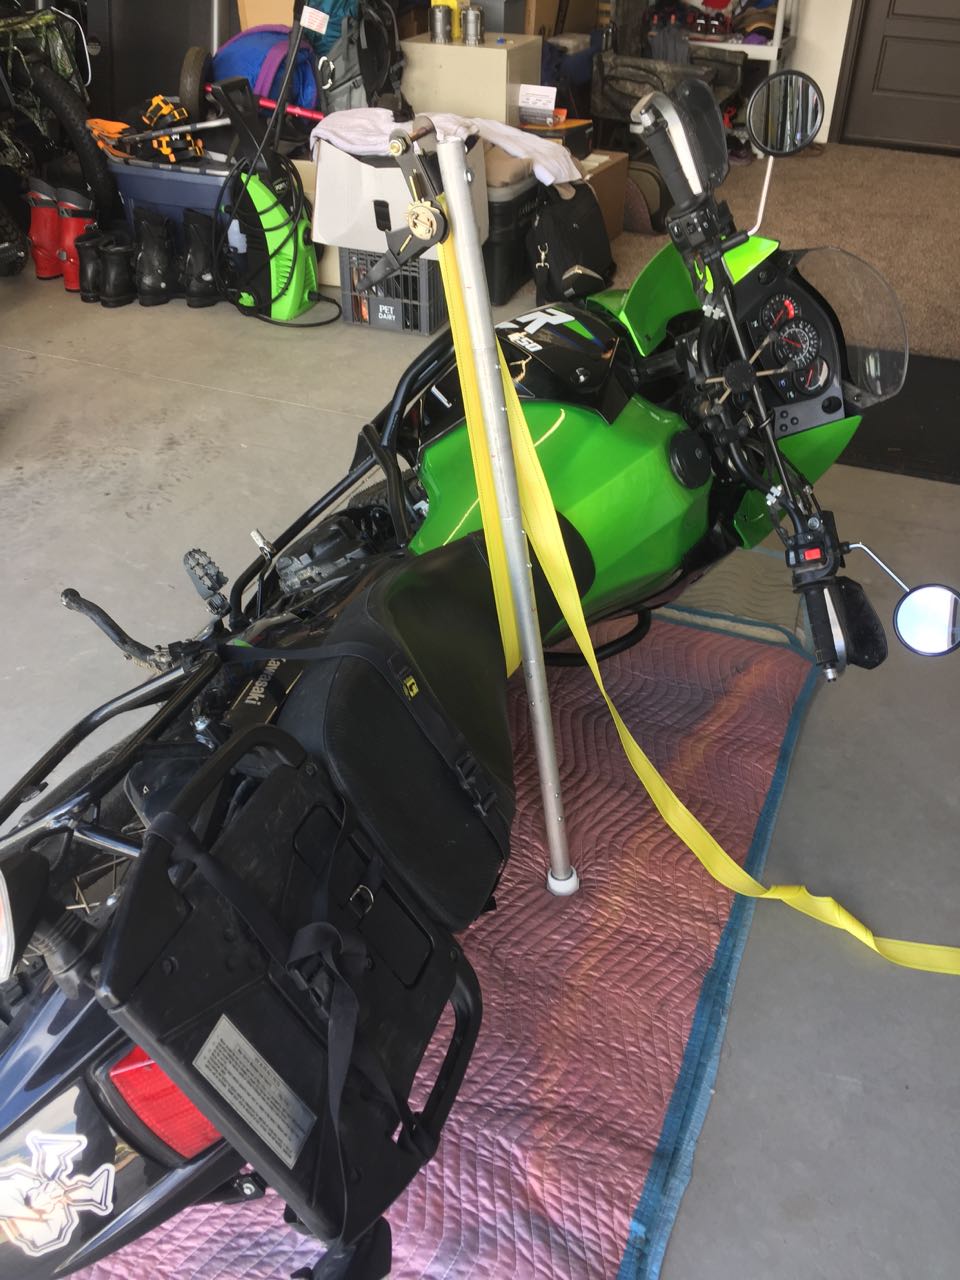
A few weeks ago I was off adventure riding motorcycles which were too heavy for me to pick up. When I dropped one I needed help to get it on its wheels again so I made a motorbike lifter. Basically a single leg strap-jack like some of the lifters I’d seen on the internet.
I made it out of 6061-T6 aluminum tubing, which is what airplanes and expensive mtn bikes are made from. I tested it on a friends KLR 650 and it seems to work so now I’m sending it off to friends in Texas to test on the 100-pound heavier Honda Africa Twin and the even heavier Honda VFRX1200. Wish us luck!
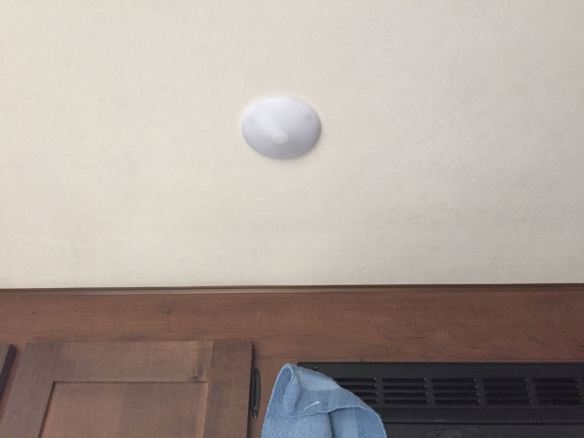
As you may recall I cut a hole in the ceiling to install a skylight a few months back and what I found was a bunch of wires in the way of my grand scheme. After a loooong and fruitless search for an affordable port light with a trim ring I decided to give up and go all high-tech
The new skylight system collects photons from the sun via a roof-mounted collector and converts them to electrons. It then beams them through the roof to an emitter which changes the electrons back into photons and spreads them out in the kitchen area
New light installedInstalled a piece of 7mm ply to back up the light and give a place for screws to go
Okay, so it’s really just a solar panel powering an LED light but I tried
Got the light installed over the test hole I made last winter
The long-time summer camp host returned to the park this week and bumped us out of our super camp spot. The boys had a couple months of playing in their own little patch of rabbit brush and now we are next to a smaller patch of brush and closer to a busy road. Gotta train them to stay off the road and watch for cars
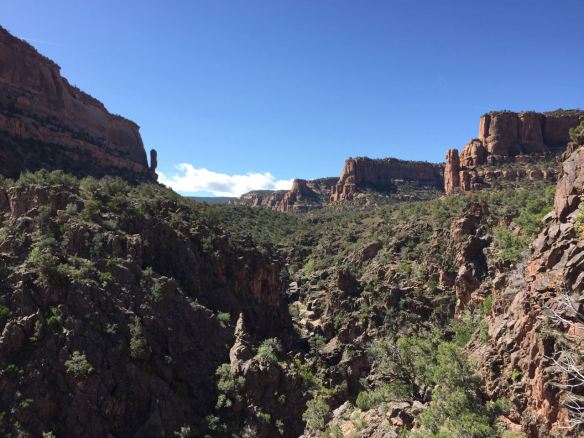
Up the creek to the wildJust a little sore – I’ll be fineMe at the cabin on the D3 trail
I finally made it up Devils canyon to the cabin. The maps I saw said it’s 5 miles round trip, my GPS said it was 3.4, and my watch said it took me four hours. I suspect it’s more like 7 miles since I was walking 2.2 miles per hour. Whatever distance it was it was about an hour too far for comfort. My feets hurt
The view from one of the Devil’s Canyon trails (D3 I think)
Next day Peter and I went out to West Water Utah and rode some amazing trails including parts of the Kokopelli. We did 18 miles which made the rest of my body hurt. Tomorrow I might manage a ride into Fruita to hang at the big bike festival.
Wild flowers are blooming
I made it into town for the big fat tire festival. Beer, bands, pizza, and friends. Fruita closes the street for a couple blocks so that’s nice. We walked around looking at stuff we didn’t buy then went over to the Hot Tomato to eat and listen to the music